Progressive Learning
Our system is built around 7 levels that take you from beginner to advanced:
- 84 physical robots (12 per level)
- 84 projects (12 per level)
- 420 micro‑projects → small coding challenges to learn without frustration
- 168 debugging codes → practice fixing and improving code
👉 Each level feels like an exciting challenge, with compact, clear, and powerful code.
Why Learn with Clu-Bots?
Join the adventure and start coding your first robot today!


What is Clu-Blocks Pro?
Clu-Blocks Pro is a massive educational platform that teaches coding from scratch using block-based programming and the MicroPython language.
- 100% online – no downloads, no installations.
- Powered by the D1 R32, a microcontroller with built-in Wi-Fi and Bluetooth.
- Designed for young learners to progress step by step, with simple and effective code.
Manuals & Tutorials
Robotics
Welcome to the wonderful world of robotics. Let’s learn to control the physical world with programming
Clu-blocks Pro Interface
Clu-Blocks Pro is a graphical programming software. Users can write programs by connecting blocks.
Coding Basics
First introductory entry to the MicroPython Course
- Mini-Tutorial: The Magic of Control Blocks
- Variables and Logic
- Introduction
- Fundamentals
Ready to Start Building?
… Code Lab
Frequently Asked Questions
FAQ’s
- Platform Features
- Technical
- Troubleshooting
- Upload Code
After your robot is running, you’ll want to see what it’s doing. The Live Serial Monitor lets you watch and interact with your robot in real time, right inside your browser. You can send commands directly to the robot and see the data coming back from its sensors (like temperature, distance, or light). This makes it easy to understand how your robot is behaving and to fix problems if something doesn’t work as expected.
Once your code is ready, you need to send it to your robot. This feature lets you do it directly from your web browser (Chrome or Edge) using a simple USB cable. No drivers, no extra software. Just connect your robot, click “Upload,” and your program is transferred immediately.
Normally, to program a robot you would need to install large, complicated software on your computer. With the Cloud Compiler, you don’t have to. Everything happens online: you write your code, and the system instantly turns it into a program your robot can understand. It’s fast, automatic, and always up to date — no extra setup required.
Robots often use sensors or special parts that need extra files called “libraries” to work properly. Normally, you would have to search for these files yourself, download them, and install them. With the Smart Library Manager, you don’t have to worry about that. The system automatically detects which libraries your robot needs and installs them during compilation. Everything works smoothly without you lifting a finger.
Typos in SSID or password are easy to miss. Also, weak signal or router settings can prevent connection.
The Serial Monitor can reveal boot errors or crash logs. Always initialize with import machine print(‘Clu-Bots’) and check the correct baud rate.
A very common issue is using a USB cable that only provides power and doesn’t support data transfer. Make sure you’re using a full data-capable USB cable, not a charge-only one.
Always verify power supply requirements and pin connections before powering up your project to avoid potential damage.
- Make sure all wires are securely connected and plugged into the correct pins.
- Loose or incorrectly connected wires are the most common cause of problems.
- Confirm that the module is receiving the correct voltage (typically a 9V battery or 5V USB).
- If the voltage is too low or too high, the component may not respond.
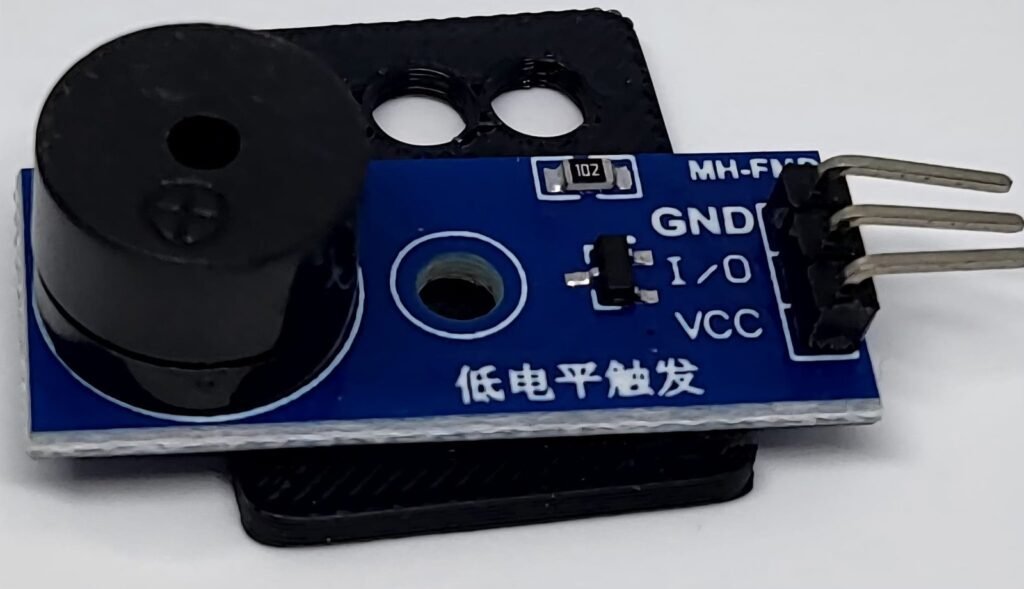
Look for dirt, dust, or obstructions on the sensors, actuators, modules, or displays.
- Ensure the correct board and port are selected correctly in Clu-Blocks Pro.
- Verify that the pins used in your code match the actual wiring (GPIO, analog, or input pins).
Adjust the sensitivity or calibration knobs (such as potentiometers) if available.
- Re-upload your program to ensure the D1 R32 has received it correctly.
- Use the serial monitor to check if data is being sent or received in real time.
Use the Serial Monitor to check for error messages and verify the sensor’s output. Add debug prints in your code to track the sensor’s state.
🔌 Plug your D1 R32 board into your computer using a USB cable.
💻 Start your programming app Clu-Blocks Pro.
Design and create your program, or open it if you already have it saved.
⚙️ In the settings, choose D1 R32 as your board and select the USB port your board is connected to.
▶️ Click Upload to send the program to your D1 R32.
✨ Wait for the charging to finish. If everything went well, the sensor, actuator, module, screen, or messages to the PC will start working: success! 🎉